A GUIDE TO YOUR FIRST PORTRAIT
How to Create a Historical Portrait from Your Photo
To create a historical portrait from your photo, start with a clear portrait, select an available outfit, and describe the setting you want. In HistoryOutfit, you can choose 16 outfits across seven periods, including four Tang-inspired looks. Your photo supplies the starting point; AI reinterprets the clothes, scene and sometimes facial details.
Start with a photo that makes your face easy to read
A well-lit photo with a clearly visible face is a useful starting point. Avoid a photo where sunglasses, hair or deep shadow hide the features you want to recognize. You do not need a costume in the original photo.
HistoryOutfit accepts JPG, PNG, WebP and AVIF files up to 20 MB. Use your own adult portrait or an adult portrait you have permission to use. Before uploading, read the photo processing and retention information, especially if you are preparing a gift for someone else.
A portrait supplies a reference, not a promise that every feature will stay unchanged. If preserving your exact face or body is essential, review the result carefully before using it.
Choose the clothing before you choose the scenery
An era name leaves a lot undecided. A flowing skirt and a ceremonial crown lead to very different portraits, even when both are described as Tang-inspired. Compare the actual outfit images in the Tang clothing gallery:
- Qixiong Ruqun: a coral chest-high skirt, ivory upper layers, a flowing stole and a round fan.
- Ruqun: a peach skirt with pale green upper layers and a round silk fan.
- Tang-inspired Empress: red-and-gold court layers and an elaborate crown for a ceremonial portrait.
- Mianfu-inspired Emperor: an artistic imperial look with broad gold-and-red layers and a beaded crown.
These four looks are available now, alongside two outfits each for Victorian, Renaissance, Medieval, 1920s, Ancient Roman and Ancient Egyptian portraits. The Tang guide explains the clothing vocabulary and links to museum sources; the generated outfits remain creative interpretations.
Give the scene a clear, simple direction
Select the garment in the gallery, then use the optional description for the surroundings, light, framing or pose. A short scene is easier to assess than a list of competing ideas. For example, choose one location and one lighting direction before adding more details.
The following Qixiong Ruqun example uses this scene description:
Full-length portrait beside a lotus pond at sunrise, with a red-painted wooden pavilion, light morning mist and soft rim light. Hold the round fan at waist level; keep the coral skirt, ivory layers and flowing stole clearly visible.
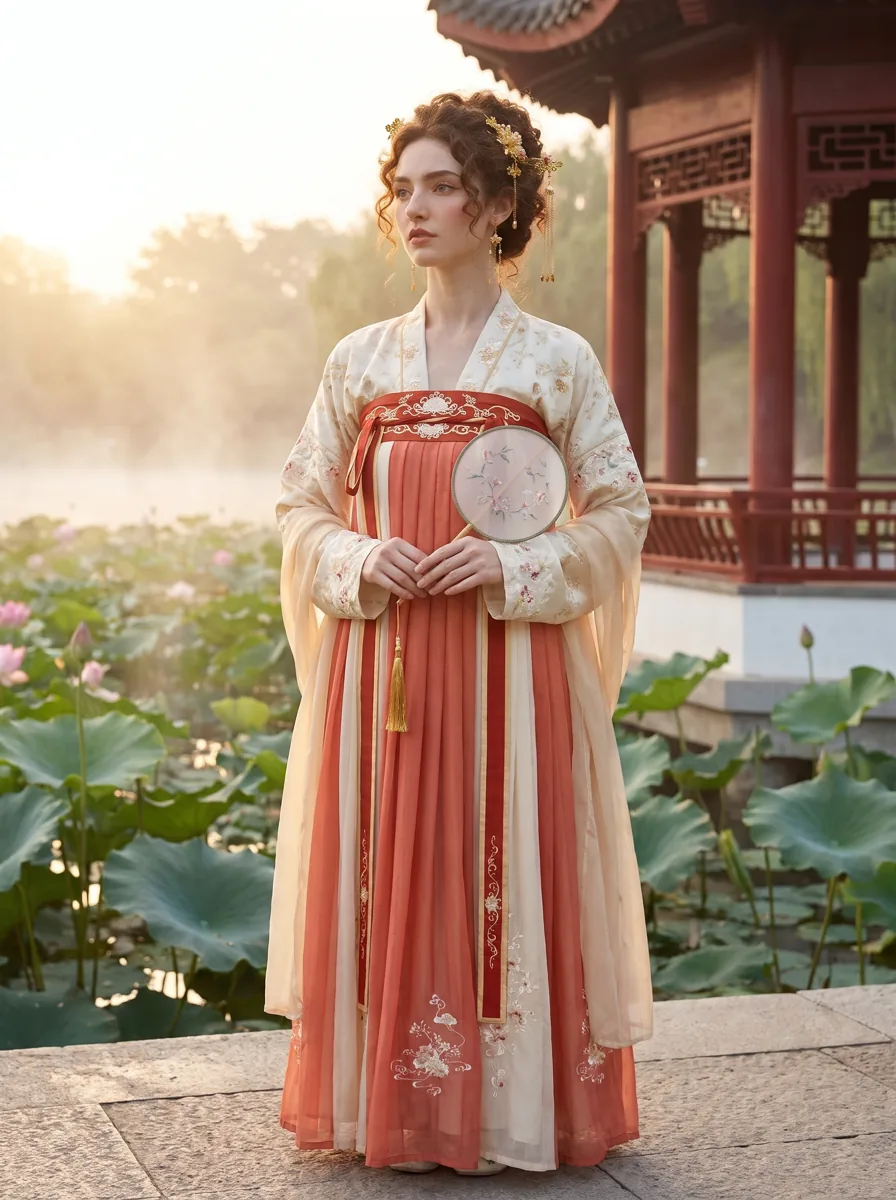
Notice what the scene description does: it asks for a lotus pond, sunrise, full-length framing and a visible fan. The selected outfit supplies the clothing direction. You can start with an existing prompt example and adjust the scene instead of describing the whole garment again.
Create the portrait in the workspace
- Open the Tang gallery. Choose an available outfit and add a clear portrait.
- Set the framing. Pick an image ratio: 1:1 for a square composition, or 3:4 for a portrait-shaped frame. Add your scene if you want one.
- Check the cost and permission confirmation. Sign in and confirm that you are 18 or older and have permission to use the adult photo.
- Select Generate. Review the finished image in Results and your private gallery.
The available model is Nano Banana Pro with 2K output. Its base cost is 50 credits per portrait before eligible plan discounts. Browsing the outfits does not require buying a plan; generating uses paid credits. Check the current pricing and credit rules before continuing.
Check the person, then the outfit, then the setting
First, look at the face, expression and body proportions. Then inspect the neckline, layers, hands, fan and crown. Finally, check whether the background and light match the scene you requested. An attractive image can still have a distorted hand or a garment detail that does not belong.
If the face is difficult to recognize, try a clearer source portrait. If the scene feels crowded, remove competing directions and try a simpler setting. Each new generation can vary and uses credits; these adjustments do not guarantee a particular result.
For a profile picture, also inspect the image at the size it will appear on your profile. A detailed headdress may be cropped out or become hard to read in a small circle. For print, judge the downloaded file at the intended size rather than assuming that any 2K image suits a large print.
Keep the portrait separate from historical evidence
A historical photo generator makes a new image. It does not recover a lost photograph or establish how a real person dressed in the past. Label the result as AI-created when sharing it alongside historical material.
For example, the Cleveland Museum of Art’s Court Lady with High Chignon, dated about 700–750, provides a specific reference for studying represented clothing and hairstyle. It is not proof that every modern Tang-inspired outfit is an exact reconstruction. Use the sources in our Tang guide when details of date, garment or social role matter.
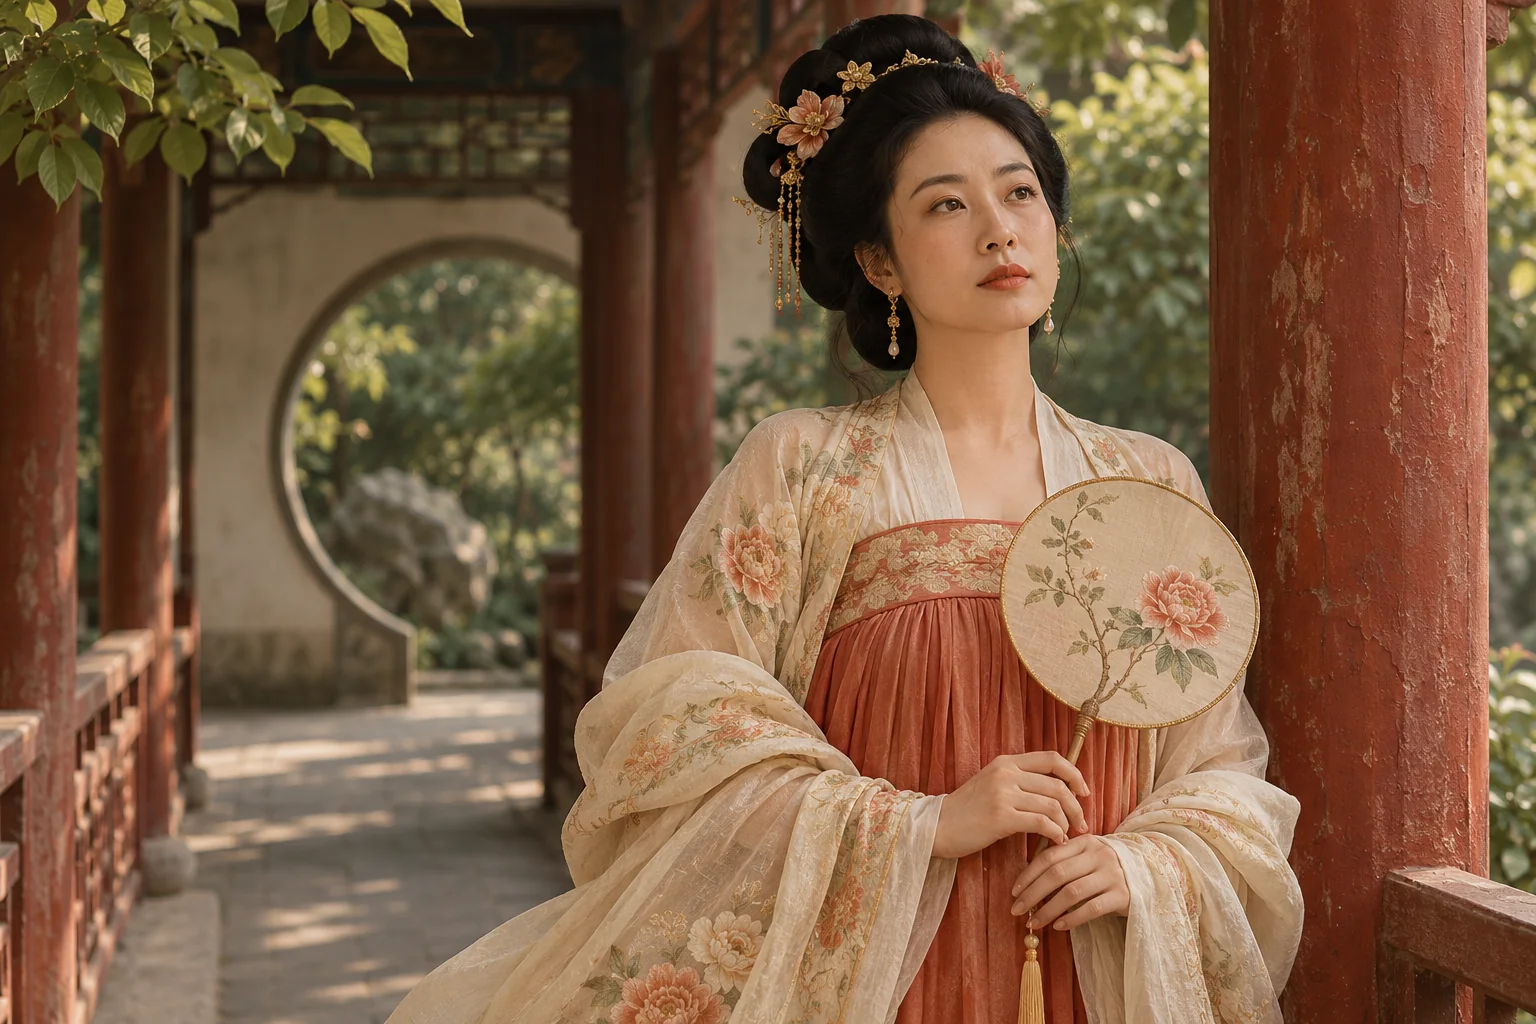
Prepared by HistoryOutfit with AI writing assistance and editorial review. The cover was AI-generated for this guide; the demonstration image comes from the documented product generation flow. About HistoryOutfit.
Considering an alternative to a studio visit? Read How to Create a Hanfu-Style Portrait Without a Studio.